Chatbots keep up to 500 messages or 2,000 tokens of history per conversation. If either limit is exceeded, the oldest messages will be removed to make room for new ones.
Configure
Write the Prompt
The prompt tells the model what to do, how to respond, and what constraints to follow. It shapes how the model behaves throughout the conversation, so think of it as defining a consistent persona rather than describing a one-off task. Here are some tips for writing effective prompts:- Define the persona: Describe who the model should act as and the tone it should use.
- Specify the output format: Describe the structure, length, or style you expect.
- Set constraints: Tell the model what to avoid or what rules to follow.
Create Dynamic Prompts with Variables
To adapt your chatbot to different users or contexts without rewriting the prompt each time, add variables to collect the necessary information upfront. Variables are placeholders in the prompt—each one appears as an input field that users fill in before the conversation starts, and their values are injected into the prompt at runtime. Users can also update variable values mid-conversation, and the prompt will adjust accordingly. For example, an onboarding assistant might userole and language to tailor its responses:
- Short Text
- Paragraph
- Select
- Number
- Checkbox
- API-based Variable
Accepts up to 256 characters. Use it for names, email addresses, titles, or any brief text input that fits on a single line.
Label Name is what end users see for each input field.
Generate or Improve the Prompt with AI
If you’re unsure where to start or want to refine the existing prompt, click Generate to let an LLM help you draft it. Describe what you want from scratch, or referencecurrent_prompt and specify what to improve. For more targeted results, add an example in Ideal Output.
Each generation is saved as a version, so you can experiment and roll back freely.
Ground Responses in Your Own Data
To ground the model’s responses in your own data rather than general knowledge, add a knowledge base. Each time a user sends a message, it is used as the search query to retrieve relevant content from the knowledge base, which is then injected into the prompt as context for the model.Configure App-Level Retrieval Settings
To fine-tune how retrieval results are processed, click Retrieval Setting.There are two layers of retrieval settings—the knowledge base level and the app level.Think of them as two consecutive filters: the knowledge base settings determine the initial pool of results, and the app settings further rerank the results or narrow down the pool.
-
Rerank Settings
- Weighted Score The relative weight between semantic similarity and keyword matching during reranking. Higher semantic weight favors meaning relevance, while higher keyword weight favors exact matches. Weighted Score is available only when all added knowledge bases are indexed with High Quality mode.
-
Rerank Model
The rerank model to re-score and reorder all the results based on their relevance to the query.
If any multimodal knowledge bases are added, select a multimodal rerank model (marked with a Vision tag) as well. Otherwise, retrieved images will be excluded from reranking and the final output.
- Top K The maximum number of top results to return after reranking. When a rerank model is selected, this value will be automatically adjusted based on the model’s maximum input capacity (how much text the model can process at once).
- Score Threshold The minimum similarity score for returned results. Results scoring below this threshold are excluded. Use higher thresholds for stricter relevance or lower thresholds to include broader matches.
Search Within Specific Documents
By default, retrieval searches across the entire knowledge base. To restrict retrieval to specific documents, enable manual or automatic metadata filtering. This improves retrieval precision, especially when your knowledge base is large or contains content for different contexts. For creating and managing document metadata, see Metadata.Process Multimodal Inputs
To allow users to upload images, audio, or documents when using the app, select a model that supports the corresponding modalities and enable specific file types—Vision, Audio, and Document.You can quickly identify a model’s supported modalities by its tags.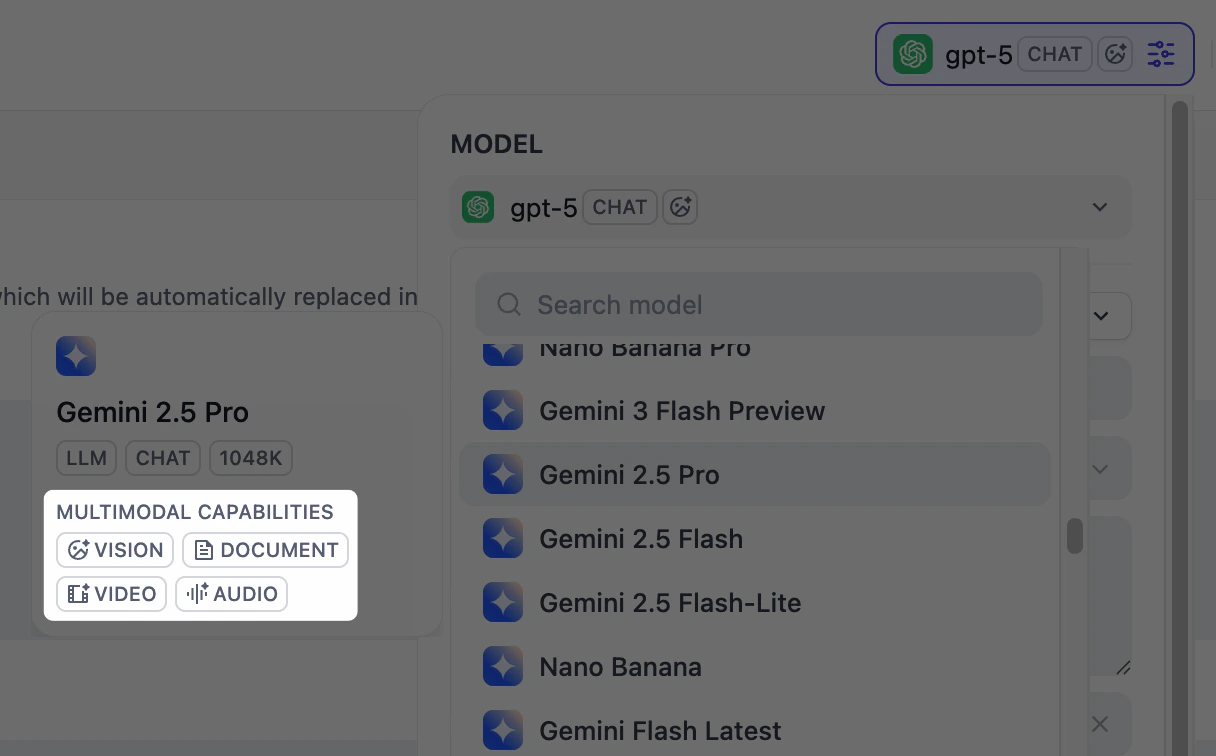
-
Resolution: Controls the detail level for image processing only.
- High: Better accuracy for complex images but uses more tokens
- Low: Faster processing with fewer tokens for simple images
- Upload Method: Choose whether users can upload from their device, paste a URL, or both.
- Upload Limit: The maximum number of files a user can upload per message.
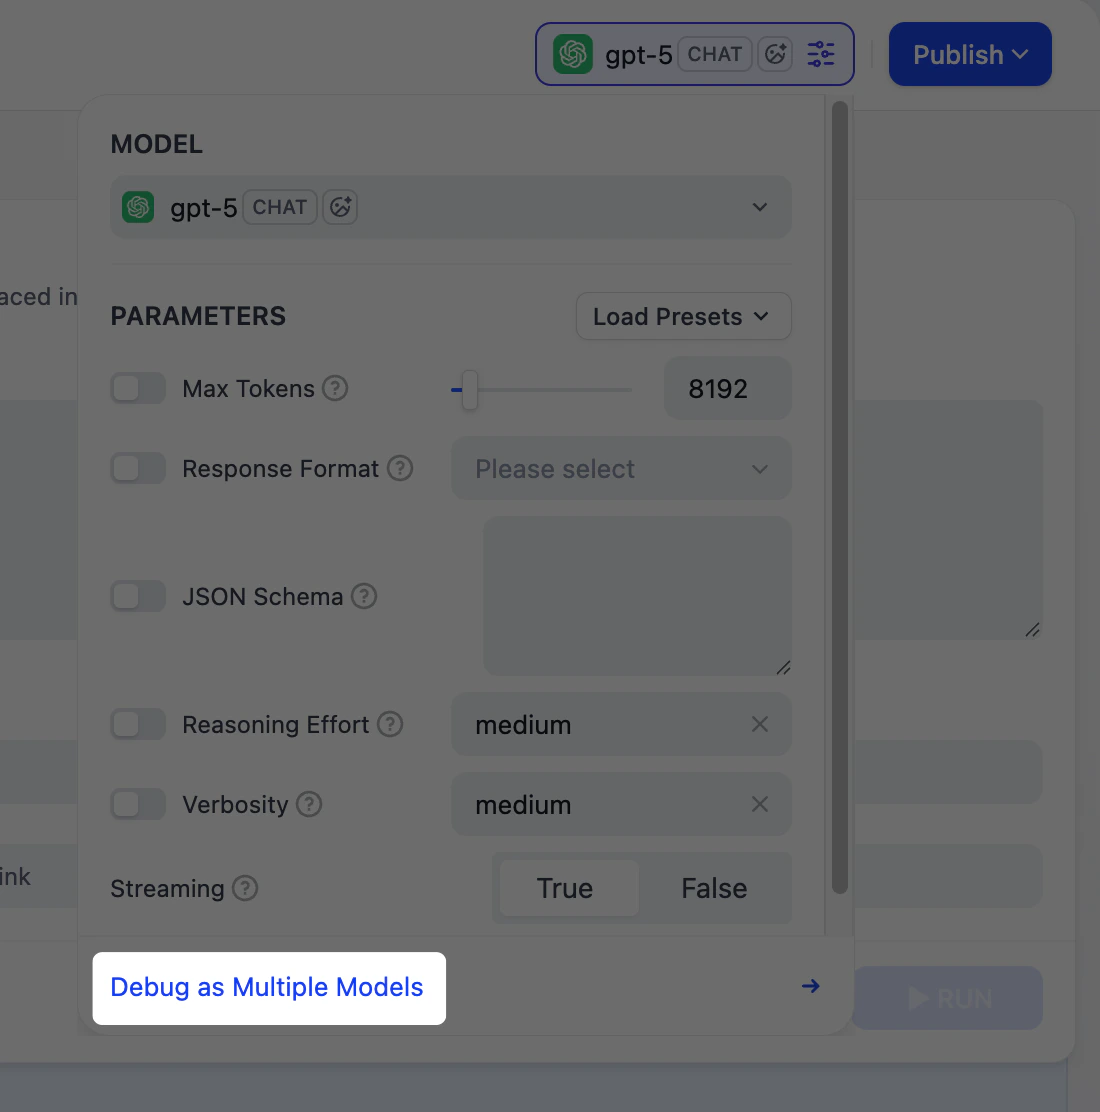
Debug & Preview
In the preview panel on the right, you can test your chatbot in real time. Select a model that best fits your task, type a message, and send it to see how the model responds. After selecting a model, you can adjust its parameters to control how it generates responses. Available parameters and presets vary by model.To compare outputs across different models, click Debug as Multiple Models to run up to 4 models simultaneously.